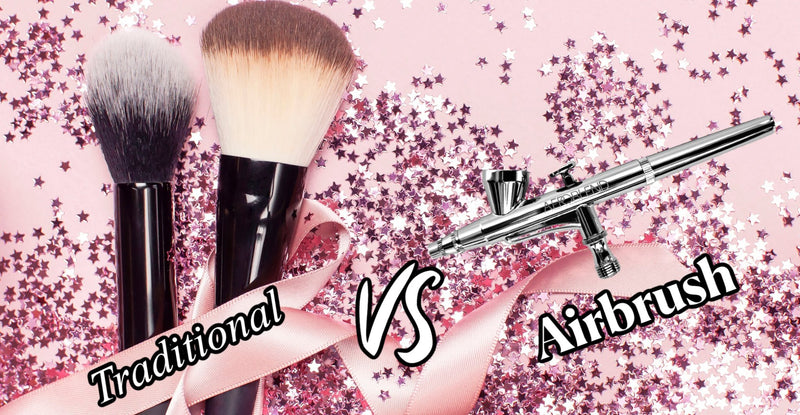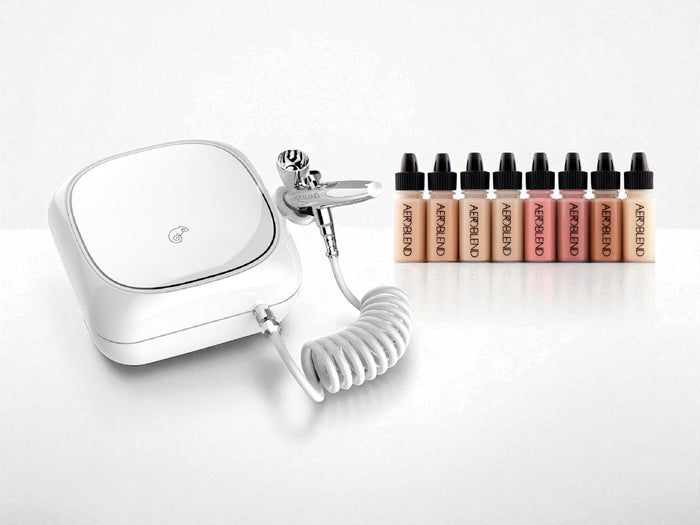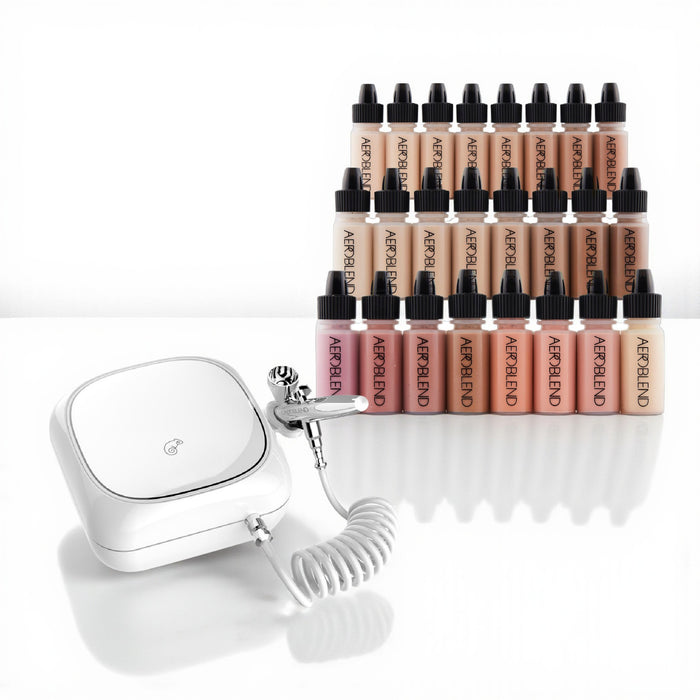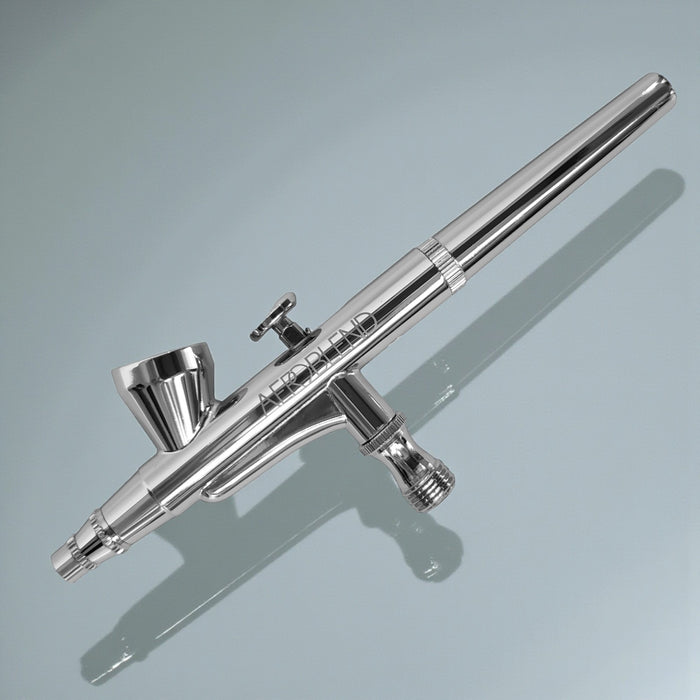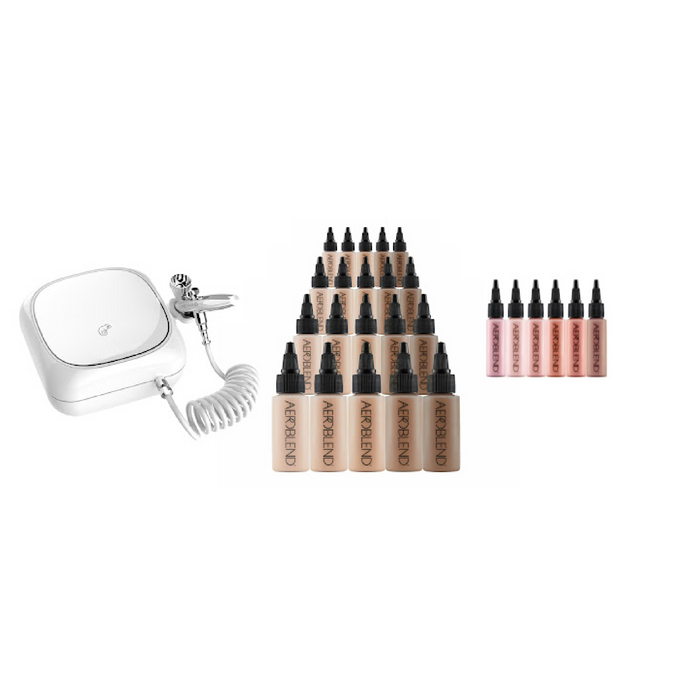
Welcome, beauty enthusiasts, to the ultimate guide on achieving a flawless and natural look with Aeroblend airbrush makeup! If you're tired of the cakey and uneven finish that traditional foundation can sometimes give, you're in for a treat. With Aeroblend, you can say goodbye to makeup meltdowns and hello to a radiant, natural glow that lasts all day. So, let's dive into the magical world of airbrush makeup and discover the secrets to achieving that perfect, effortless look!
The Aeroblend Advantage:
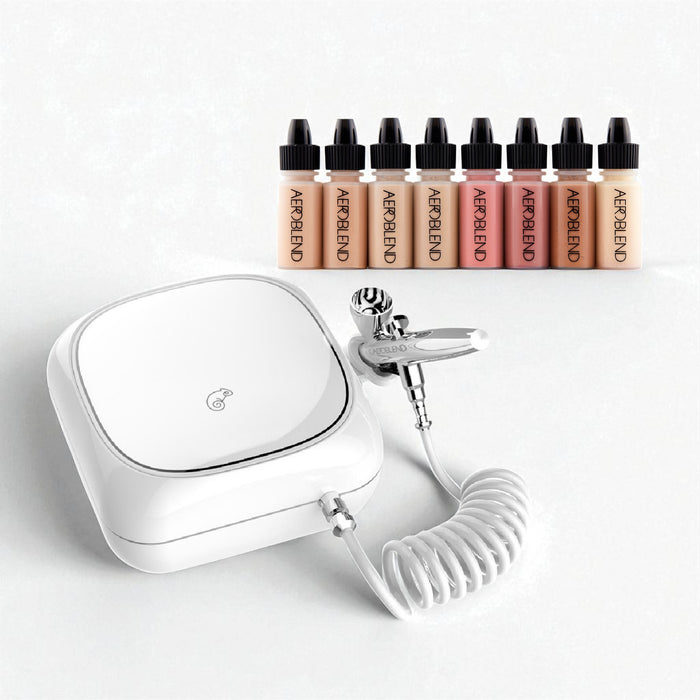
Before we get into the nitty-gritty of application, let's talk about why Aeroblend is a game-changer. Aeroblend's airbrush system provides a lightweight, buildable coverage that allows your skin to breathe. Forget about heavy layers clogging your pores – with Aeroblend, you're in control of your flawless finish. Plus, it's so easy to use, even if you're a makeup newbie!
Step 1: Prep Your Canvas
Every masterpiece starts with a solid foundation, and your face is no exception. Begin by cleansing your skin and applying a good moisturizer. Hydrated skin provides the perfect canvas for Aeroblend to work its magic, giving you a nice and natural finish.
Step 2: Choose the Right Shade
Aeroblend offers a wide range of shades to match every skin tone. Take advantage of the brand's color-matching expertise and find your perfect match. Remember, the goal is to enhance your natural beauty, so choose a shade that seamlessly blends into your skin.
Step 3: Shake, Aim, and Spray
Now, it's time for the fun part! Shake the Aeroblend foundation well to ensure an even mix of pigments. Hold the airbrush stylus about four to five inches away from your face and aim it straight at your skin. Gently pull back on the trigger to release the foundation. Start with light, circular motions, gradually building up coverage until you achieve your desired look.
AeroTip: Less is more! Aeroblend's formula is highly pigmented, so start with a light application and add more on problem areas if needed. You'll be amazed at how easily you can achieve a natural, second-skin finish.
Step 4: Spray and Go
Aeroblend is long-lasting (up to 10+ hours) but some like to finish with a makeup setting spray. Aeroblend is self-setting to a natural matte finish so no need for any setting powders to achieve that look. Remember, less is more.
AeroTip: Use blot paper or blot powder to dab and blot any excess oil to combat any unwanted shine and support makeup longevity.
And there you have it – the secret to achieving a natural and flawless look with Aeroblend airbrush makeup! Say goodbye to heavy layers and hello to a radiant, breathable finish that lasts all day. With Aeroblend, you're not just applying makeup; you're creating a masterpiece that showcases your natural beauty. So, get ready to turn heads and shine with confidence, one airbrushed stroke at a time!
Similar articles
Is Airbrush or Traditional Makeup Better? Let's Settle This Beauty Battle!
How to Airbrush Makeup for Beginners
What Is Airbrush Makeup? Unveiling the Secrets of Flawless Beauty
PERSONAL AIRBRUSH MAKEUP STARTER KIT
- Regular
- $ 139.00
- Sale
- $ 139.00
- Regular
-
$ 139.00
- Unit Price
- per
PRO Airbrush Makeup Starter Kit
- Regular
- $ 169.00
- Sale
- $ 169.00
- Regular
-
$ 169.00
- Unit Price
- per
Aeroblend PRO Airbrush Makeup Studio Kit
- Regular
- $ 769.00
- Sale
- $ 769.00
- Regular
-
$ 769.00
- Unit Price
- per

