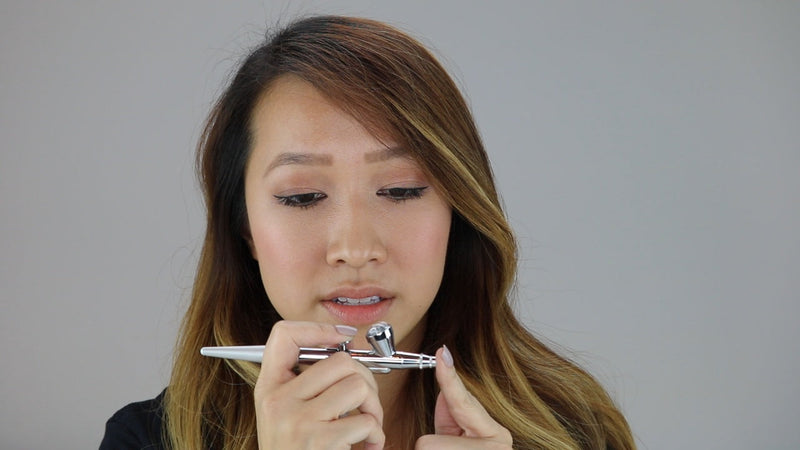
1. Check hose connections and make sure there are no kinks or leaks in the hose itself.
If the airflow is blocked or not connected properly, the airbrush won't spray.
Check the screw-on hose ends at each attachment site:
While holding one of the hose ends upright, pull the textured silver fitting to the very end of the hose so that the black ring on the end of the hose sits at the bottom of the fitting. Then, make sure the threads are aligned properly while screwing the fitting onto the compressor/airbrush stylus. See the "Watch 1st" video on our "How to Aeroblend" page here.
2. Check the air pressure on your compressor.
Start at the lowest setting on our 1.0 touch start compressors. The first level on the compressor should be more than sufficient but if you feel that you need more you can tap to the next level. It is recommended that you check the hose connections as described in the first step prior to this. Be sure to test the pressure with water to avoid wasting the product.
3. Sometimes parts in the airbrush stylus can get loose and just needs a simple adjustment.
Just follow the troubleshooting directions in the photo below:

4. Airbrush stylus is dirty.
This can happen when makeup builds up and dries inside the airbrush stylus, clogging it. Thus, not allowing air or makeup to flow through.
Keeping the airbrush stylus clean allows it to work smoothly. No need to take the airbrush completely apart after every use.
For everyday cleaning, all that is needed is running a few drops of Aeroblend Airbrush Cleaner through the airbrush. Then rinse by running some water through it while incorporating some "back bubbling" with the water.
Back bubbling is when you use a finger to cover the tip of the airbrush stylus while slowly pulling back on the lever until you see some bubbling. Then run more water through the airbrush until the back bubbling no longer creates suds from any residue from the cleaning solution.
Sometimes a deeper cleaning may be necessary, and we have a how-to video for this process.
5. If it is still not spraying and you've already tried the troubleshooting above, it may mean that the makeup is super clogged in the airbrush stylus.
Try soaking the airbrush stylus in a cup of water. Take the needle cap and nozzle cap off (the tip of the airbrush), take the needle out, and place all parts in a cup of water (with an added splash of Aeroblend Airbrush Cleaner). Let it soak for a few hours (2-3 hours). The cleaning solution and water mix should help soften and break down the makeup. Then you can proceed with the deep cleaning video again.
6. Does the lever feel springy? Or does it feel loose or floppy?
If the lever feels loose or floppy, check out the troubleshooting detailed in this article.
7. You're not shaking the makeup well enough to mix all of the pigment.
Please make sure that you are shaking the airbrush makeup bottles really well. Especially upon first use.
It would be better to shake it more than usual, even if you feel like you've shaken it really well. It is natural for the pigment to settle, and thus it may take extra shaking the more it sits over time (ie. when stored to be used at a later time or stored in the warehouse after production). Once you can get it going and mixed, it will be much easier to mix with regular use, and less shaking will be required.
Having trouble with shaking or trouble with makeup squeezing out of the bottle? Check out this article.
#AeroTip: Test your airbrush flow with water so that you don't waste your makeup. 😉
#AeroTip: We recommend only using Aeroblend airbrush products in our airbrush systems as we cannot guarantee other products or other airbrush brands will not clog your Aeroblend airbrush.
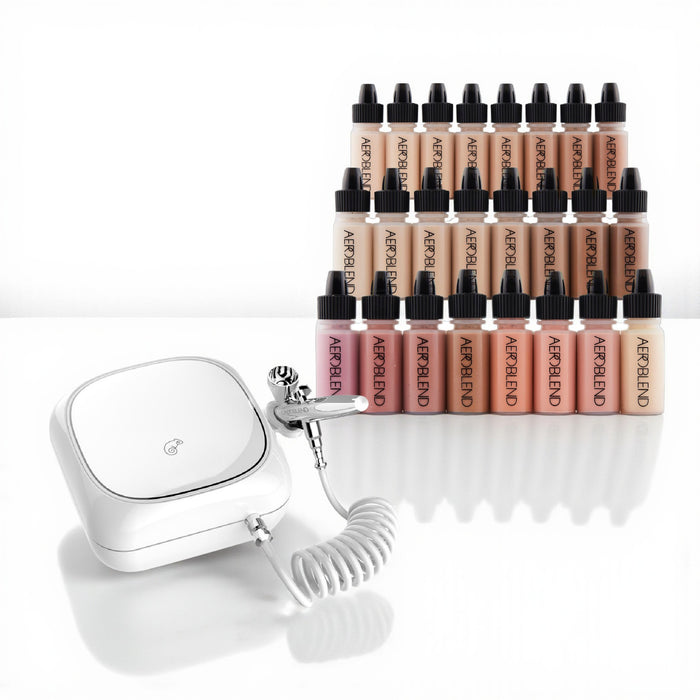
PERSONAL AIRBRUSH MAKEUP STARTER KIT
- Regular
- $ 139.00
- Sale
- $ 139.00
- Regular
-
$ 139.00
- Unit Price
- per
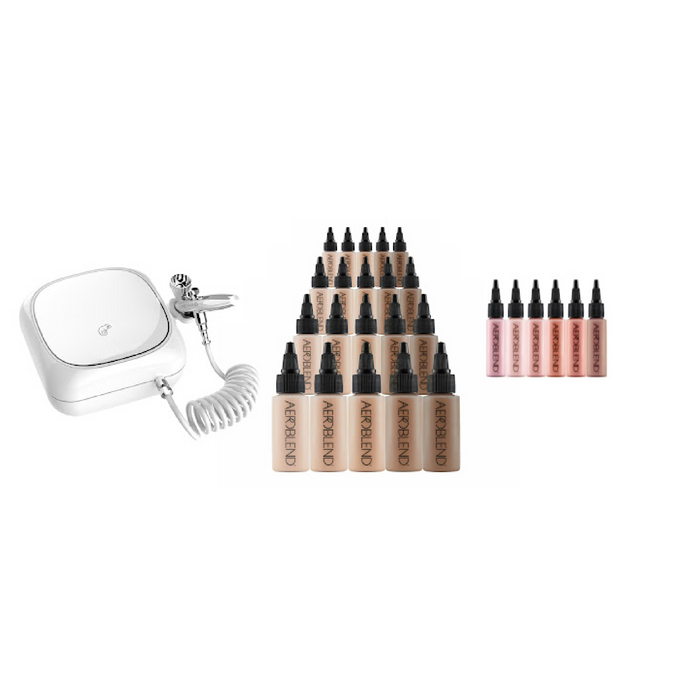
PRO Airbrush Makeup Starter Kit
- Regular
- $ 169.00
- Sale
- $ 169.00
- Regular
-
$ 169.00
- Unit Price
- per
Aeroblend PRO Airbrush Makeup Studio Kit
- Regular
- $ 769.00
- Sale
- $ 769.00
- Regular
-
$ 769.00
- Unit Price
- per

