A few things could be happening here:
1. Check the air pressure on your compressor.
Start at the lowest setting on our touch-start compressors. The first level on the compressor should be more than sufficient, but if you feel that you need more, you can tap to next level.
It is recommended that you check the hose connections as described in the first step prior to this. Be sure to test the pressure with water to avoid wasting the product.
2. Check hose connections and make sure there are no kinks, leaks, or damage in the hose itself.
If the airflow is blocked or not connected properly, the airbrush will not have adequate pressure to spray smoothly and evenly.
Check the screw-on hose ends at each attachment site:
While holding one of the hose ends upright, pull the textured silver fitting to the very end of the hose so that the black ring on the end of the hose sits at the bottom of the fitting. Then, make sure the threads are aligned properly while screwing the fitting onto the compressor/airbrush stylus. See the "Watch 1st" video on our "How to Aeroblend" page here.
3. The tip of the airbrush may be dirty and clogged with makeup.
Be sure to keep this area clean so that old makeup doesn't build up and cause new makeup to pool at the tip. (The how-to for cleaning the tip is shown in the cleaning video below at 1:05).
4. The airbrush stylus itself is dirty.
The airbrush stylus must be rinsed after each use! If the stylus is clogged with makeup inside, the makeup will not come out as smoothly.
Check out how to deep clean your airbrush stylus in our how-to video below! Fast forward to 1:05 to see how the airbrush tip is cleaned.
5. If it is still not spraying evenly and you've already tried the troubleshooting above, it may mean that the makeup is really clogged in the airbrush stylus.
Try soaking the airbrush stylus in a cup of water. Take the needle cap and nozzle cap off (the tip of the airbrush), take the needle out, and place all parts in a cup of water (with an added splash of Aeroblend Airbrush Cleaner). Let it soak for a few hours (2-3 hours). The cleaning solution and water mix should help soften and break down the makeup. Then you can proceed with the deep cleaning video again.
6. And lastly, the needle inside the airbrush stylus may be damaged.
To check this, carefully take the needle out and carefully run it between your fingers. It should feel smooth. If you feel any snag, then the needle may need to be replaced.
Click here to purchase a replacement needle!!!
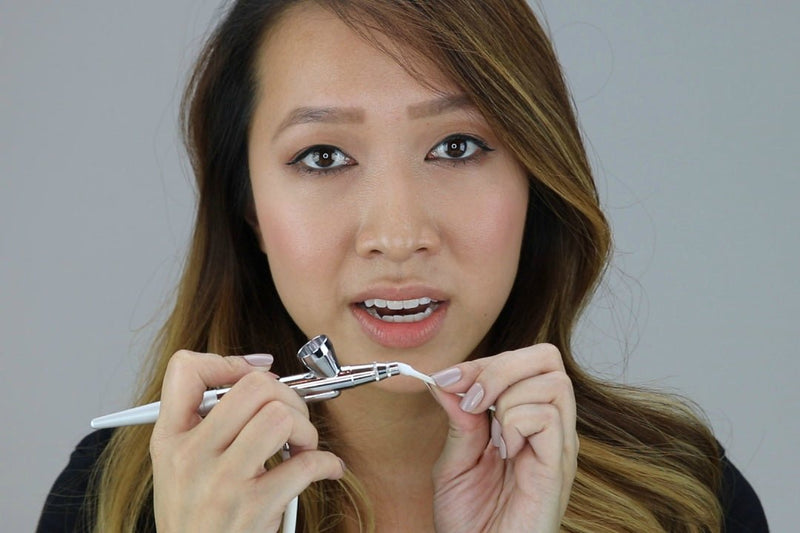
#AeroTip: For a quick way to clean the airbrush tip without taking anything apart, pull back the lever to retract the needle and avoid damaging it. Wet a cotton swab with water and twist it on the inside of the airbrush tip to clean it.
#AeroTip: We recommend only using Aeroblend airbrush products in our airbrush systems as we cannot guarantee other products or other airbrush brands will not clog your Aeroblend airbrush.


PERSONAL AIRBRUSH MAKEUP STARTER KIT
- Regular
- $ 139.00
- Sale
- $ 139.00
- Regular
-
$ 139.00
- Unit Price
- per
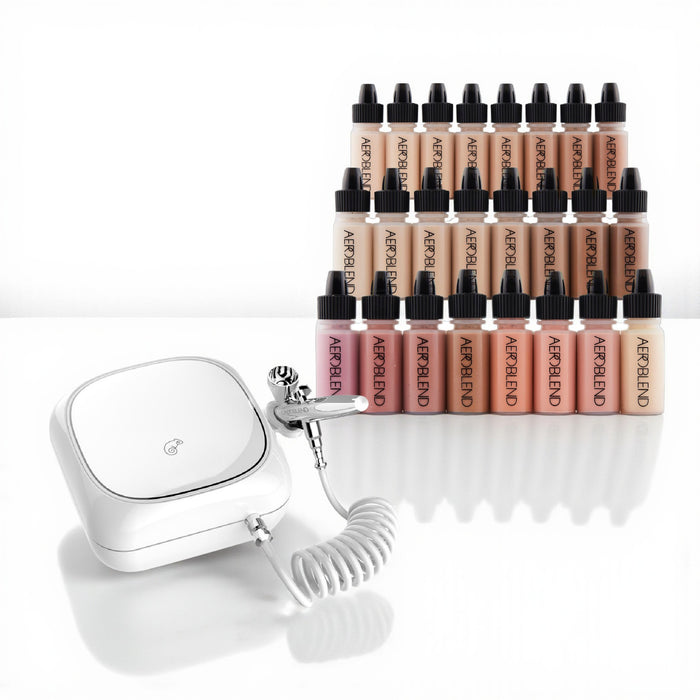

PRO Airbrush Makeup Starter Kit
- Regular
- $ 169.00
- Sale
- $ 169.00
- Regular
-
$ 169.00
- Unit Price
- per
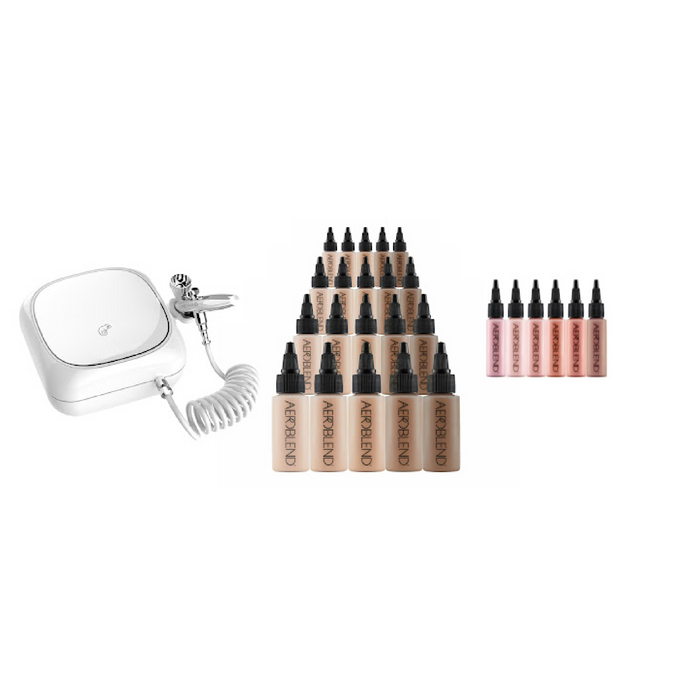
Aeroblend PRO Airbrush Makeup Studio Kit
- Regular
- $ 769.00
- Sale
- $ 769.00
- Regular
-
$ 769.00
- Unit Price
- per