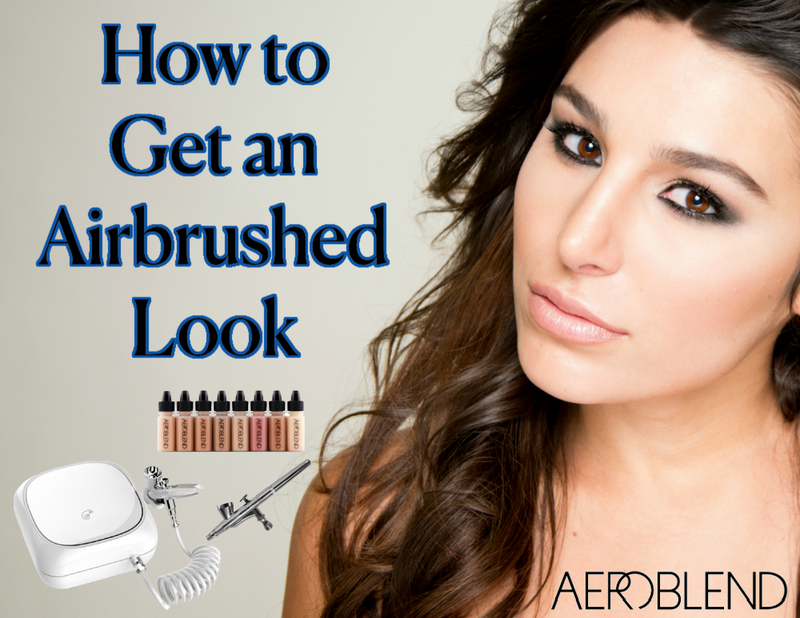
Hey beauty enthusiasts! Ever wondered how celebrities and makeup artists achieve that flawless, airbrushed look? Well, the secret is out, and it's not as complicated as it seems. With the right tools and techniques, you can rock an airbrushed finish every day. Let's dive into the world of airbrush makeup and learn how to get that picture-perfect glow!
1. Start with a Clean Canvas
Just like any masterpiece, a clean canvas is essential. Begin by cleansing and moisturizing your face to create a smooth base for your airbrush makeup. This step not only ensures better adherence but also promotes a natural and radiant finish.
2. Choose the Right Airbrush Makeup Kit
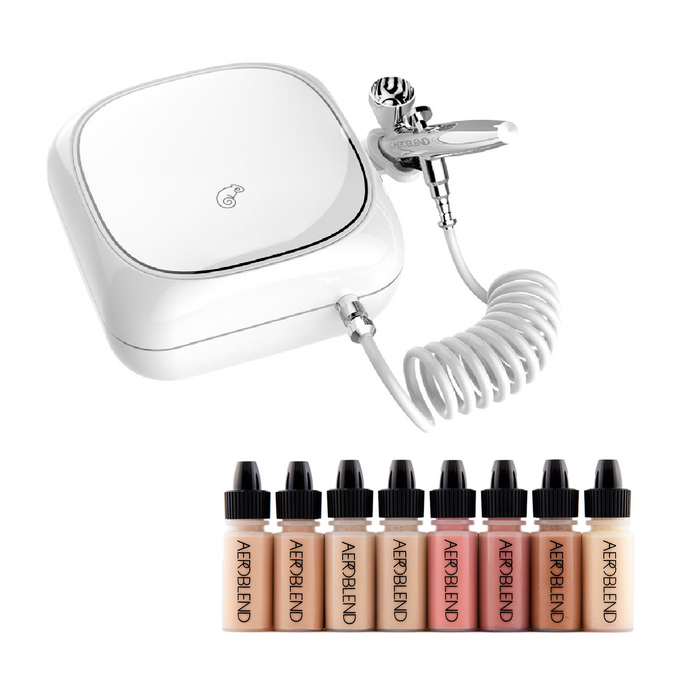
Investing in a quality airbrush makeup kit is key to achieving a flawless look. Brands like Aeroblend offer user-friendly kits that include everything you need – from the airbrush stylus to the foundation shades. It's like having your own personal makeup artist at home!
3. Master the Art of Airbrushing
Hold the airbrush stylus about four to six inches away from your face and apply makeup in small, circular motions. This method creates an even and natural-looking coverage without the need for physical heavy blending.
4. Build Layers Gradually
One of the perks of airbrush makeup is its buildable nature. Start with a light layer and gradually build up to your desired coverage. This allows you to customize the intensity while maintaining a lightweight feel on your skin.
5. Highlighting and Bronzing
Bring dimension to your face by incorporating bronzer and highlight. Use highlighter or lighter shades on areas you want to accentuate, such as the tops of your cheekbones and the bridge of your nose. Darker shades or bronzer can be applied to the hollows of your cheeks and along the jawline for a sculpted look.
6. Does Airbrush Makeup Need to be Set in Place?
Some airbrush makeup formulas may require you to set it with a translucent setting powder or makeup setting spray to ensure your airbrushed look lasts.. Aeroblend is self-setting, long-wearing (up to 10+ hours), and transfer-resistant but you can lock it in with Aeroblend PRO Makeup Setting Mist for that extra boost of longevity if you need it.
If your skin is more oily-prone, blotting (do not rub or wipe) shiny areas with blot paper or blot powder to keep the shine at bay. This step helps to minimize shine and keeps your skin looking fresh and airbrushed throughout the day.
7. Practice Makes Perfect
Like any makeup technique, practice is key. Take some time to experiment with your airbrush makeup kit to find the application method that works best for you. Before you know it, you'll be a pro at achieving that coveted airbrushed finish. We recommend practicing your spraying technique on the practice sheet that is included with every Aeroblend Airbrush Starter Kit.
In conclusion, getting an airbrushed look is all about the right tools. With the Aeroblend airbrush makeup kit, you can elevate your makeup game and enjoy a flawless finish every time. Say goodbye to visible lines and hello to a picture-perfect you!
Happy Aeroblending! 💁🏻♀️✨💕
1. Start with a Clean Canvas
Just like any masterpiece, a clean canvas is essential. Begin by cleansing and moisturizing your face to create a smooth base for your airbrush makeup. This step not only ensures better adherence but also promotes a natural and radiant finish.
2. Choose the Right Airbrush Makeup Kit
Investing in a quality airbrush makeup kit is key to achieving a flawless look. Brands like Aeroblend offer user-friendly kits that include everything you need – from the airbrush stylus to the foundation shades. It's like having your own personal makeup artist at home!
3. Master the Art of Airbrushing
Hold the airbrush stylus about four to six inches away from your face and apply makeup in small, circular motions. This method creates an even and natural-looking coverage without the need for physical heavy blending.
4. Build Layers Gradually
One of the perks of airbrush makeup is its buildable nature. Start with a light layer and gradually build up to your desired coverage. This allows you to customize the intensity while maintaining a lightweight feel on your skin.
5. Highlighting and Bronzing
Bring dimension to your face by incorporating bronzer and highlight. Use highlighter or lighter shades on areas you want to accentuate, such as the tops of your cheekbones and the bridge of your nose. Darker shades or bronzer can be applied to the hollows of your cheeks and along the jawline for a sculpted look.
6. Does Airbrush Makeup Need to be Set in Place?
Some airbrush makeup formulas may require you to set it with a translucent setting powder or makeup setting spray to ensure your airbrushed look lasts.. Aeroblend is self-setting, long-wearing (up to 10+ hours), and transfer-resistant but you can lock it in with Aeroblend PRO Makeup Setting Mist for that extra boost of longevity if you need it.
If your skin is more oily-prone, blotting (do not rub or wipe) shiny areas with blot paper or blot powder to keep the shine at bay. This step helps to minimize shine and keeps your skin looking fresh and airbrushed throughout the day.
7. Practice Makes Perfect
Like any makeup technique, practice is key. Take some time to experiment with your airbrush makeup kit to find the application method that works best for you. Before you know it, you'll be a pro at achieving that coveted airbrushed finish. We recommend practicing your spraying technique on the practice sheet that is included with every Aeroblend Airbrush Starter Kit.
In conclusion, getting an airbrushed look is all about the right tools. With the Aeroblend airbrush makeup kit, you can elevate your makeup game and enjoy a flawless finish every time. Say goodbye to visible lines and hello to a picture-perfect you!
Happy Aeroblending! 💁🏻♀️✨💕
Kits de maquillage à l'aérographe
Kit de démarrage de maquillage à l'aérographe personnel
- Prix ordinaire
- $ 139.00
- Prix soldes
- $ 139.00
- Prix ordinaire
-
$ 139.00
Épuisé
- Prix unitaire
- par
Kit de démarrage de maquillage à l'aérographe PRO
- Prix ordinaire
- $ 169.00
- Prix soldes
- $ 169.00
- Prix ordinaire
-
$ 169.00
Épuisé
- Prix unitaire
- par
Kit de studio de maquillage pour aérographe Aeroblend PRO
- Prix ordinaire
- $ 769.00
- Prix soldes
- $ 769.00
- Prix ordinaire
-
$ 769.00
Épuisé
- Prix unitaire
- par
Similar articles
Is Airbrush or Traditional Makeup Better? Let's Settle This Beauty Battle!
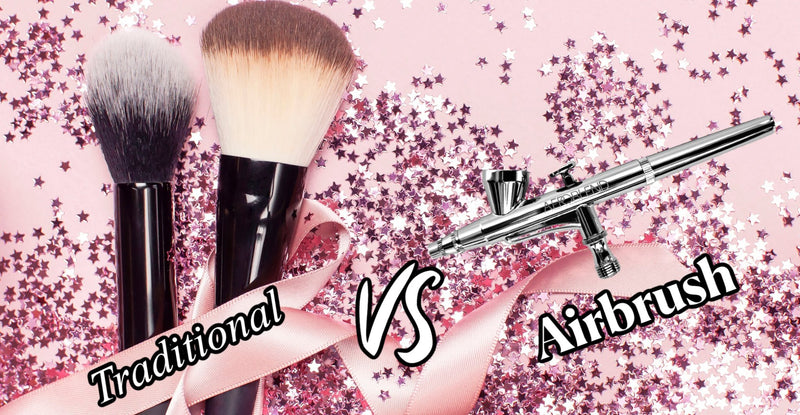
Hey there, makeup mavens and beauty buffs! 👋 If you've ever found yourself pondering over the age-old question of whether airbrush makeup is the ultimate makeup wizardry or if traditional... En savoir plus
Comment faire du maquillage à l'aérographe pour les débutants
Aeroblend fonctionne très bien pour chacune de toutes les expériences. Du novice au confirmé , c'est un moyen simple et rapide d'obtenir un aspect lisse sur votre peau ! Gardez... En savoir plus
Qu'est-ce que le maquillage à l'aérographe ?
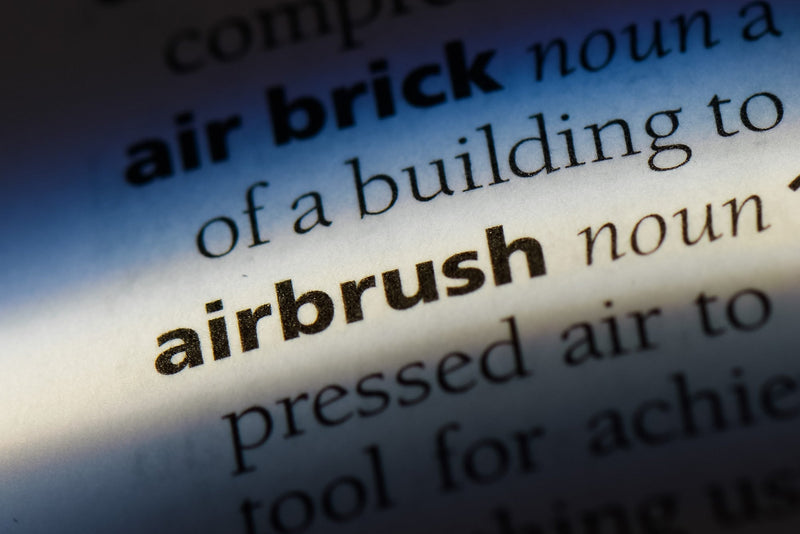
Airbrush /ˈerˌbrəSH/ défini par Oxford Languages Dictionary : nom : dispositif d'artiste pour pulvériser de la peinture (maquillage à l'aérographe) au moyen d'air comprimé. verbe : altérer ou dissimuler (une photographie... En savoir plus
Let customers speak for us

Creme Feeling without oiliness
What a wonderful makeup! The Real Brush Creme Skin Perfector goes on so soft and a light cream feel. Just enough moisture and just enough dry to balance the creme feel. It looks and feel great. I use 035 for my olive skin complexion for a mature skin.
Darlene R.
Bufferette Foundation Brush

Love it!
I have tried several brands of traditional foundation and airbrush foundation. I love this the best for each!
Rebecca S.
Aeroblend Airbrush Foundation

Perfect-Configurable
It’s perfect. The internal dividers make it configurable to meet almost any set of makeup items.
Martin P.
Customizable Cosmetic Case

Awesome
Love it
Dawnell R.
Real Skin Luxury Facial Oil

A Fresh, Smooth Feel makeup
I just received my Creme Skin Perfector. It is a fresh clean feel, with easy application, and it is not a heavy feel, I love this cream protector on my face. This is the only makeup I use every day. And it does not have all the chemicals added to the makeup. That is my kind of makeup. Thank you, Aeroblend!
Darlene R.
Real Brush Crème Skin Perfector
Amazing
I did not think I could like anything more than my airbrush makeup, but this new aeroblend makeup is pretty amazing. It's easy to apply and looks wonderful!!
Elizabeth N.
Real Brush Crème Skin Perfector

My new favorite way to apply makeup!
I love the Personal airbrush makeup starter kit! It’s so easy to use. The makeup looks flawless, and not cakey! I definitely recommend
Grace H.
Personal Airbrush Makeup Starter Kit
Perfect, Flawless, Coverage.
I've been using Aeroblend makeup for about 5 years now. I love the coverage it's always flawless, it's not hard on my skin and I totally love the product..I get compliments about my coverage all the time.
Erin V.
Aeroblend Airbrush Foundation

This is the best thing ever!! I’m able to put my makeup on in less than 10 minutes
Nicole S.
Aeroblend Airbrush Highlighter

Helpful samples
I loved my starter kit but wasn’t sure I had the right colors to try, so I ordered for FREE the extra samples. They were a huge help in figuring out what color I wanted to do. It was easy and quick to get the new samples, and so nice to not have to pay to try more colors!!
Abigail J.
Color Match Guarantee
My “go to” makeup
So light, amazing coverage and my skin has never been better! No more pushing makeup into my pores. ♥️
Kelly I.
Aeroblend Airbrush Foundation

AMAZING CUSTOMER SERVICE
Hello loves!! Aeroblend is amazing. Truly always there for you with support and help if something isn’t working or if you have questions or concerns. They have your back ,100%
Only foundation I’ll use
I am so glad I started using airbrush foundation a few years ago. I struggle with my skin and this is the best product I’ve found that doesn’t add to my struggle. People complement my skin when I wear it and are surprised to hear I’m actually wearing makeup because it’s so natural looking. Good ingredients and great product.
Lisa G.
Aeroblend Airbrush Foundation
My skin looks great !
Its only took 2min ! Much easier than think
also beautiful
Eriko W.
PRO Airbrush Makeup Starter Kit
I love this stuff!
Best purchase I have made for my career by far!
Sybil M.
PRO Airbrush Makeup Starter Kit