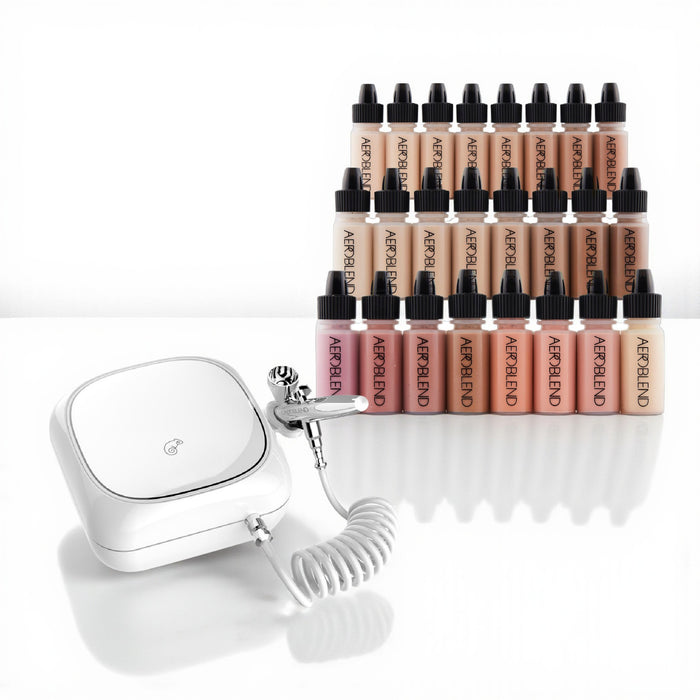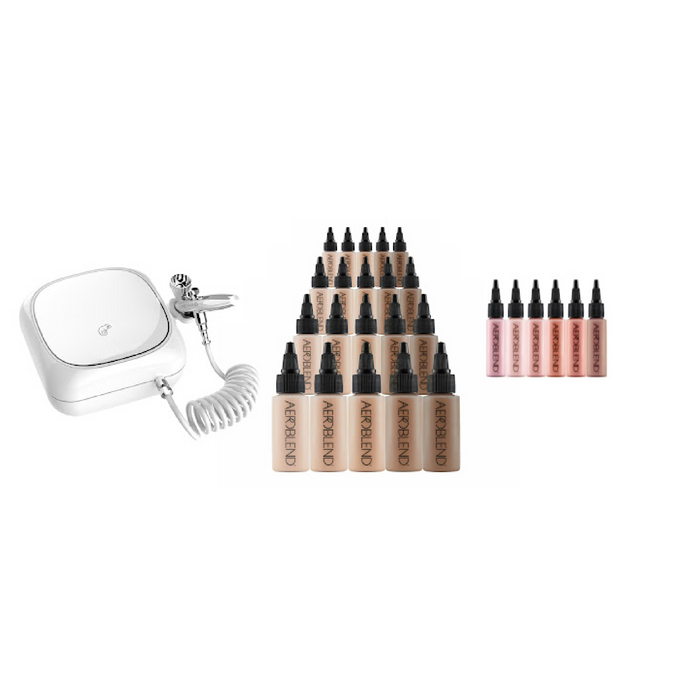
If you're just starting out with makeup, achieving that flawless look might seem like a distant dream. But guess what? It’s totally doable—even if you're a total newbie. And with Aeroblend airbrush makeup, creating a stunning, professional-level makeup look is a breeze. It’s like having your own personal glam squad in a sleek little airbrush kit! 😎🎨
Ready to master the art of flawless makeup? Let’s dive into this step-by-step guide and show you how Aeroblend can help you get that perfect, airbrushed finish every time. 💁♀️
Step 1: Start With a Fresh Canvas 🧼
Every makeup artist will tell you—beautiful makeup starts with beautiful skin. So, your first step is to make sure your skin is prepped and ready for action.
Cleanse: Begin by washing your face with a gentle cleanser to remove any dirt, oil, or old makeup. We want a fresh, clean canvas to work with!
Moisturize: After cleansing, follow up with a light, non-greasy moisturizer. This keeps your skin hydrated and helps the makeup glide on smoothly. Skin primers are not recommended.
Allow Moisturizer to Absorb: For best results, allow your moisturizer to fully absorb into your skin before airbrushing. You don’t want the moisturizer to just be sitting on top your skin when you go to airbrush.
Step 2: Conceal & Brighten ✨
Here’s the cool thing about Aeroblend: it gives such great coverage that you might not even need concealer. But if you’ve got dark circles, blemishes, or want to brighten under your eyes, feel free to apply a little concealer before your airbrush foundation.
For the best results, apply light concealer to the areas where you need extra coverage (like under your eyes, on blemishes, or around the nose). Blend it out using your airbrush for a seamless, natural look. You’ll be amazed at how light and flawless your skin looks without that heavy, cakey feel. 🌟
Step 3: Time to Airbrush! 🎨💨
Now comes the fun part—using your Aeroblend airbrush system! If you’ve never used an airbrush before, don’t worry. It’s super easy and fun to use. Plus, it gives you that flawless, skin-like finish that’s hard to achieve with traditional makeup. Here’s how to do it:
1. Shake It Up: Start by giving your Aeroblend foundation bottle a good shake. This makes sure all the pigment is evenly mixed for smooth application.
2. Load the Airbrush: Add a few drops (5-7 should do the trick) of your Aeroblend foundation into the airbrush stylus. A little goes a long way, so you don’t need much!
3. Hold It Right: Hold the airbrush stylus about 6-8 inches away from your face. This distance is key to getting that soft, airbrushed finish.
4. Start Spraying: Gently pull back on the lever and use small, circular motions to apply the foundation. Keep moving the stylus. Unless you are spot treating, don’t hover in one spot! Your goal is to apply thin, even layers. You can always go back and build coverage if needed.
Voila! You’ve just airbrushed your way to flawless foundation in less time than it takes to drink your morning coffee. ☕🌸
Step 4: Add Some Color with Blush 🌹
No flawless makeup look is complete without a touch of blush to give your cheeks a natural, rosy glow! Aeroblend’s airbrush blush is perfect for this.
1. Add Blush to Your Stylus: Just like with your foundation, add a few drops (about 3-4) of Aeroblend blush into the cup of your airbrush stylus.
2. Light Layers: Hold the stylus a little further away from your face this time (about 8-10 inches) and lightly spray in circular motions on the apples of your cheeks.
3. Build It Up: Remember, you can always build more color, so start light! A few soft passes should give you that perfect pop of color. 💖
Step 5: Highlight & Glow ✨
Want to take your glow to the next level? Highlighting is the way to go. And yep, you can do it with your Aeroblend airbrush system too!
1. Add Highlighter: Add a few drops of Aeroblend Champagne Toast highlighter to your stylus.
2. Apply to High Points: Lightly spray the highlighter onto the high points of your face—like the tops of your cheekbones, down the bridge of your nose, and above your cupid’s bow. This will give your skin a natural, lit-from-within glow. 🌟
3. Glow, Girl! Step back and admire your glow. It’s not too shiny or glittery—just the right amount of radiance to make your skin look fresh and dewy.
Step 6: Set It & Forget It 🏖️
One of the best things about Aeroblend airbrush makeup is how long it lasts. But if you want to lock it in even more (especially for long days or special events), finish with Aeroblend PRO Makeup Setting Mist. This will keep your makeup in place all day long, even through humidity, sweat, or oil. 💦
Just a few light mists of the setting spray over your face, and you’re ready to take on the world with your flawless makeup! 💪
Step 7: Lips & Brows 💋
Your airbrush makeup is flawless, but let’s not forget about the finishing touches! For lips, go with your favorite shade—something that makes you feel confident and put together. And don’t forget to fill in your brows to frame your face.
Quick tip: if you're in the mood for a fresh, no-makeup-makeup look, go for a soft, nude lip. If you're feeling bold, a red or berry lip will add some drama! 💄
You Did It! 🎉
And there you have it—a flawless makeup look that’s super easy to achieve, even if you’re just starting out! With Aeroblend, you get that pro-level finish without needing a ton of products or a makeup artist certification. Plus, the lightweight formula feels amazing on your skin.
So, are you ready to slay your makeup game with Aeroblend? Once you try it, you’ll never go back to regular foundation again! 😘
Have you tried airbrushing your makeup before? What’s your favorite step?
PERSONAL AIRBRUSH MAKEUP STARTER KIT
- Regular
- $ 139.00
- Sale
- $ 139.00
- Regular
-
$ 139.00
- Unit Price
- per
PRO Airbrush Makeup Starter Kit
- Regular
- $ 169.00
- Sale
- $ 169.00
- Regular
-
$ 169.00
- Unit Price
- per
Aeroblend PRO Airbrush Makeup Studio Kit
- Regular
- $ 769.00
- Sale
- $ 769.00
- Regular
-
$ 769.00
- Unit Price
- per


